Help Desk Configuration
Introduction
The Neoagent Help Desk system is designed to simplify the management of customer interactions and automate many support processes through artificial intelligence.
Getting Started
1. Access to the Platform
To get started, log into the Help Desk dashboard.
To create an account, a Growth plan or higher is required.
2. Creating a New Configuration
When creating a + New Configuration, you will need:
- the Chatbot ID
- the chatrobot-sessionkey
3. General Settings
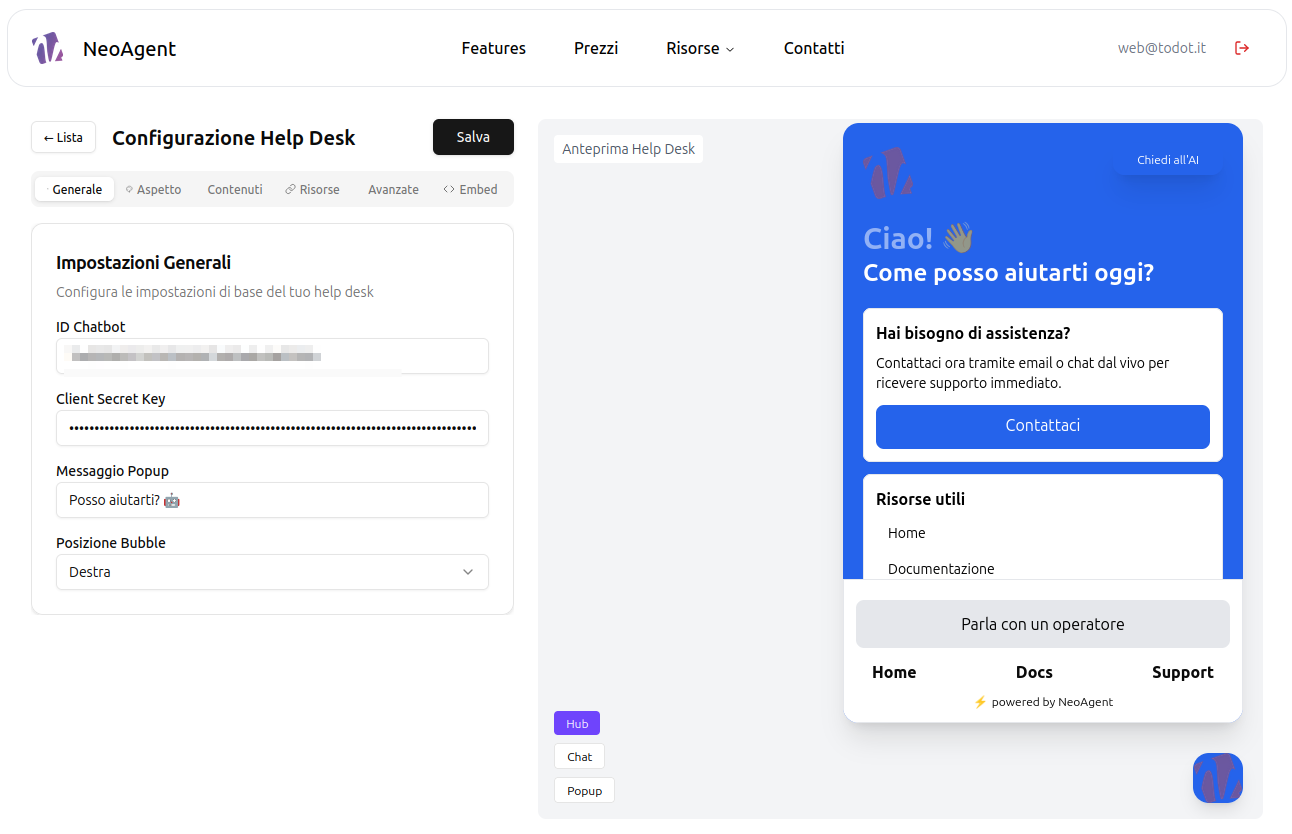
Only modify the Chatbot ID when you truly want to replace the internal agent.
From here, you will modify the main information of the chatbot and the bubble.
Options:
- Popup Message: The message will appear to the user 5 seconds after they access the page.
- Bubble Position: Choose whether to have the help desk on the right or left.
Main Features
Help Desk Preview
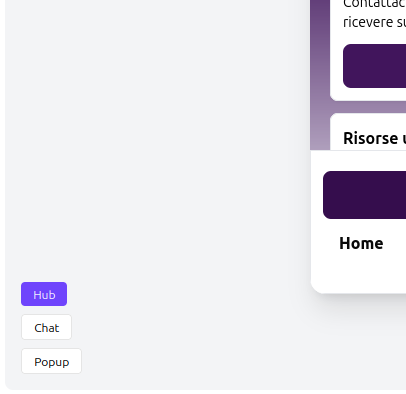
In the preview, you can:
- Bubble Usage open and close the Help Desk interface
- Hub View the Help Desk interface
- Chat Interact with the configured chatbot
- Popup trigger for the popup message
Customization
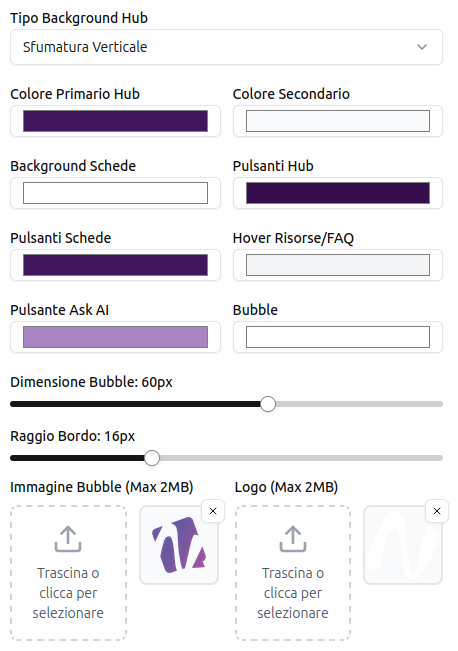
You can fully customize the Hub with your brand colors:
- 3 background options vertical gradient/solid color/two colors
- Background image insert a custom background*
- Border radius to better align with the style of your site or app
- Custom logos
*Available soon
Content and Resources
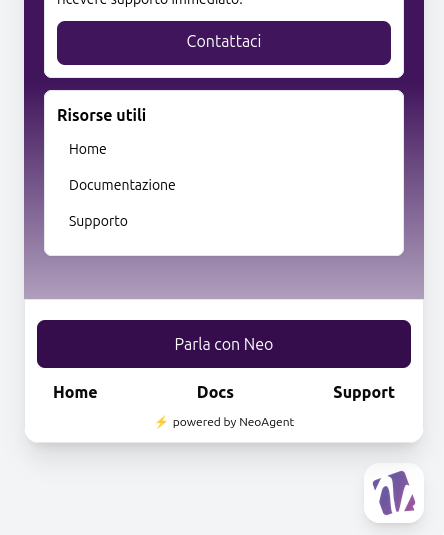
The contents manage the Useful Resources as shown in the figure.
These can have 2 Options:
- Resources simple https:// links
- FAQs frequently asked questions with their corresponding answers
To choose one of these options, you can use the switch depicted in the figure.
![]()
Embed
From this section, you can generate a code to insert into the Heading or Footer of your website or web app.

After generating the token, you can use the help desk with:
- Iframe the most stable solution (recommended)
- Script better performance
- Direct URL a link to share